
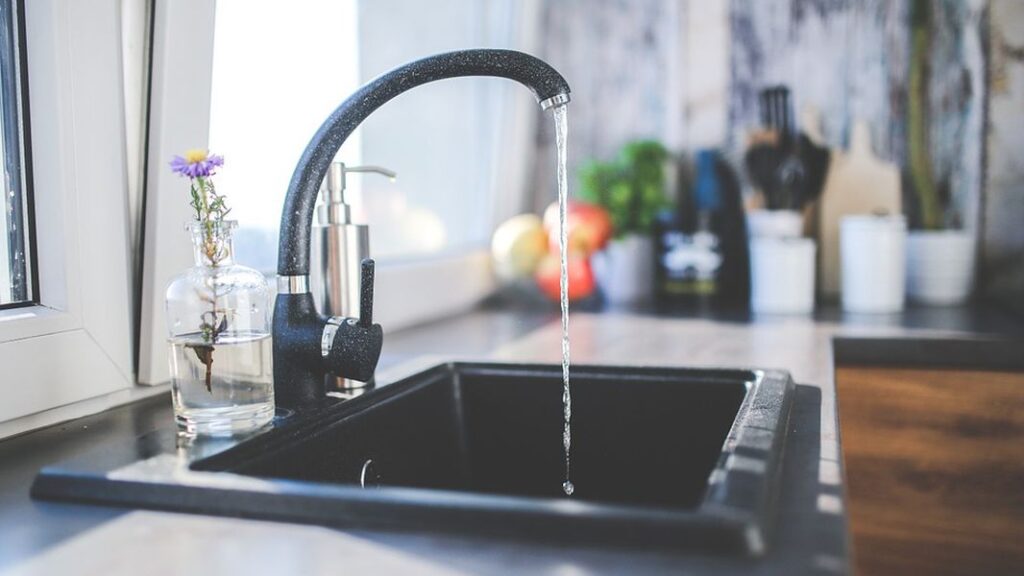
Dealing with a leaking tap in your home isn’t just annoying: it could also get quite expensive if ignored for too long. Apart from wrecking your water bills, it could also lead to extreme property damages, especially if your home is not properly insured.
Luckily, you can resolve this issue quite quickly as long as you take action immediately. Here, we’ll tell you everything you need to know about fixing leaking taps and faucets at home, so keep on reading to find out!
Gather the necessary equipment
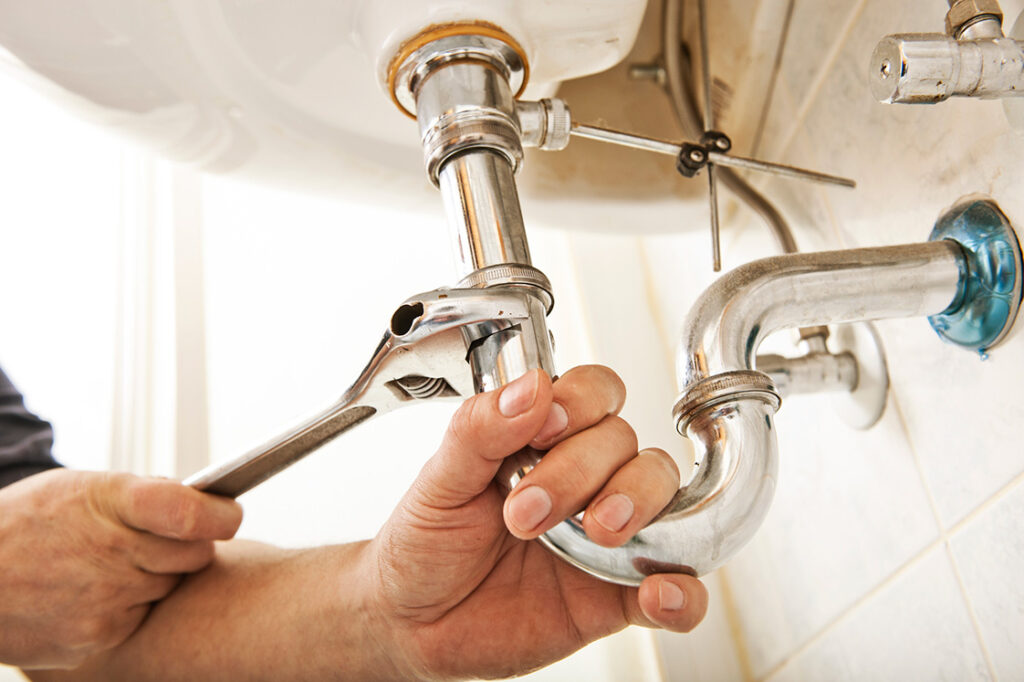
If you’re planning on DIY-ing the repairs, you’ll first need to shop for some items. None of these should be too expensive, and since you’ll be able to reuse most of them, it will certainly be worth the price. The first and main thing you’ll need is an adjustable wrench for gripping and turning the tap. Ensure you’ve bought a quality one, especially if you’re planning on doing smaller plumbing jobs in the future.
Besides the spanner, you’ll also need a couple of slotted screwdrivers, some scissors, and replacement cartridges or assorted washers depending on your specific needs and the type of tap you have at your home.
Overall, make sure to purchase all of your plumbing equipment from a reliable supplier to ensure you get the results you need. Read up on different reviews and product ratings until you’ve found a vendor you can trust.
Turn off the water supply
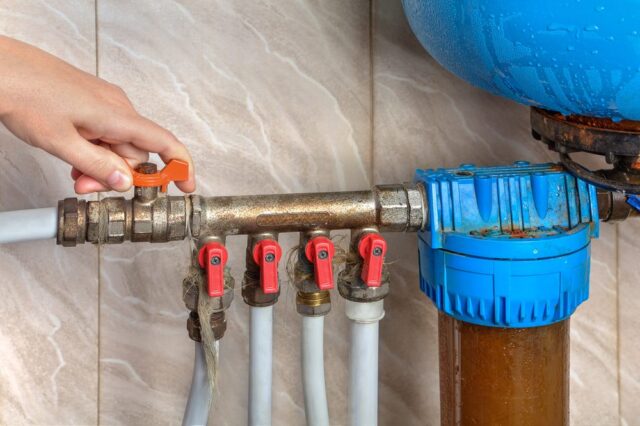
The first step in fixing a dripping faucet is turning off the water supply. You don’t want to make a mess and risk water damage for no reason whatsoever. Turning off the water supply will usually take a couple of seconds, so do not forget to do it.
Again, failing to cut off the water main line before you start fixing the tap can cause even more trouble later on. You don’t want the water to get everywhere, disrupting you in your work.
We also recommend watching a couple of tutorial videos to ensure the best possible results. That especially goes if you have little to no experience with plumbing: while it’s a simple job, things can still go wrong if you’re not careful.
All in all, before you get to fix your leaking tap, make sure you’ve cut off all water supply to the faucet. In this way, you’ll prevent further leakage and dripping.
Remove the knobs and the stem
Use your screwdriver to remove the knobs. Be careful not to damage them in the process. If you’re not sure how to do this properly, you can always seek a visual guide online. After you’ve removed the knobs, do the same to your faucet handle. Use the spanner to twist the stem from the valve and do it as slowly as you can to avoid damaging it.
Be careful when handling the plumbing tools as there could be some sharp edges and safety hazards in place. We recommend investing in some protective goggles and gloves just to be sure.
Besides that, remember that there are different types of stems. You’ll either have to get it twisted off using the spanner or pop it out. View more about leaking taps here, if you’re interested.
Check for damage
Once you’ve removed the faucet handle and the decorative knobs, check your tap for any obvious signs of damage. If you notice a damaged part, replacing it is your only course of action. If however, you’re unsure where the leakage is coming from, take another look at the O-rings and the washer. Even the slightest looseness of these can cause your tap to leak.
Replacing the broken parts is quite intuitive, so don’t worry about it. Just make sure the parts you’ve purchased fit your faucet properly. Remember not to twist it back into place too tightly, as it can cause problems later on.
Overall, fixing a leaking tap at home is quite simple. All it takes is replacing a few parts and investing in a couple of plumbing tools. If this doesn’t fix your dripping issue, we recommend contacting professionals to help you.
Check whether everything’s in order
After you’ve replaced whatever was causing the issue, remember to check if everything is working properly. We recommend doing mini inspections every now and then for at least a week after you’ve done the repairs. Even though replacing the washer or the cartridge isn’t anything overly complicated, an inexperienced hand can still make a mistake.
Run the water a couple of times and check whether there’s any leakage or not. Besides that, look for any changes in your water pressure to ensure you’ve done a good job. If everything seems working properly, well, congratulations! You’ve fixed your first leaky tap!
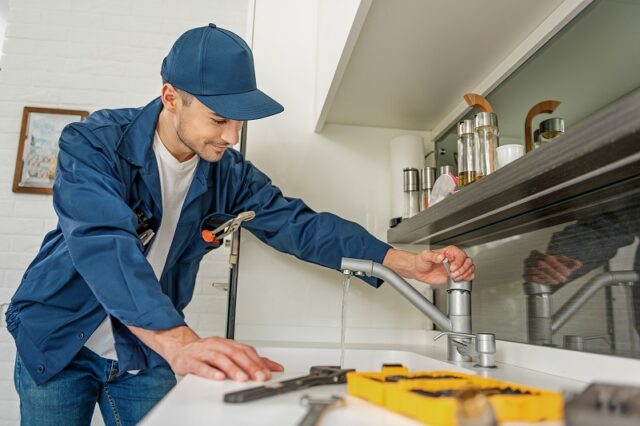
When everything else fails, don’t hesitate to call the professionals.
So, you’ve done everything we’ve recommended so far, and you’re not seeing any results? It’s time to call for some expert help. If a simple replacement doesn’t cut it, there’s certainly a more complex issue hiding behind your dripping faucet.
Even though hiring a plumber may seem expensive at first, it’s nothing compared to the damage you’d have to cover if you failed to address the issue. Besides, an expert can help you prevent similar issues by providing you with sound advice on how to maintain your faucets properly.
Lastly, if everything we talked about in this article seems like too much of a hassle for you, again, there’s nothing wrong with hiring some expert help. Remember to choose your servicers wisely and always ask for referrals before you decide to hire them.
The bottom line
Stopping a leaking tap at home isn’t particularly difficult. In most cases, it will only take you around 30minutes to fix the issue and all you need is a couple of screwdrivers and a spanner. If, however, replacing the cartridge/washer doesn’t seem to fix the problem, do not hesitate to hire professional services.
All in all, we hope our article helped you repair your dripping faucet at home and we wish you good luck in all of your future endeavors.


